Solo hiking safety for women isn’t about avoiding risk; it’s about mastering a system that makes you the most capable person on the trail.
- Your gear (like a satellite communicator) is useless without a clear operational protocol.
- Managing internal fear is as critical as handling external threats like weather or predators.
Recommendation: Adopt a mindset of tactical competence, not fearful avoidance. This guide shows you how.
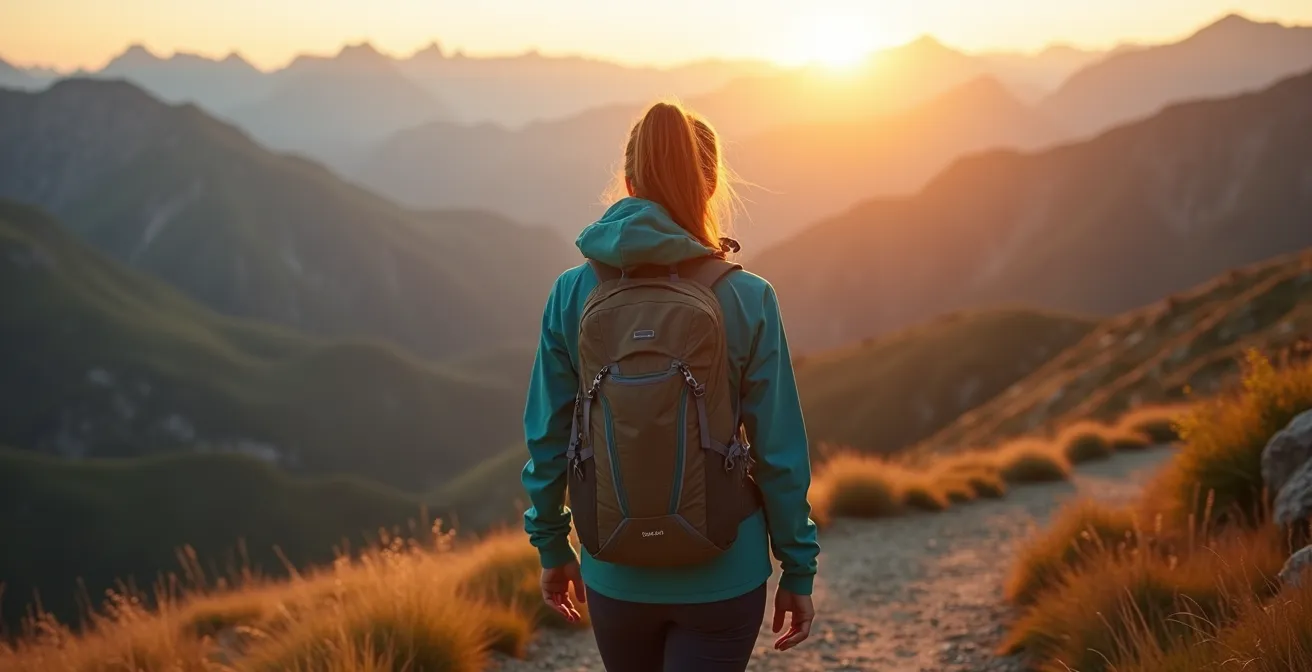
The call of the trail—the quiet solitude, the physical challenge, the stunning vistas—is a powerful one. Yet for many women, the desire to hike solo is immediately met with a chorus of concern, both internal and external. You’re told to be careful, to not go alone, to be constantly aware of the boogeyman behind every tree. This advice, while well-intentioned, is fundamentally flawed. It frames you as a potential victim and the wilderness as a place of fear.
The truth is, safety isn’t a passive state of awareness; it’s an active, deliberate practice. The standard advice to simply “bring a first-aid kit” or “be confident” is insufficient. It lacks the operational rigor required for true self-reliance. This guide rejects the narrative of fear. It’s built on a different premise: that true confidence comes not from ignoring danger, but from mastering the skills and protocols to systematically manage it. It’s about shifting your mindset from fearful prey to a competent and capable operator in the backcountry.
This isn’t just another checklist. We are going to deconstruct the core components of solo hiking safety, transforming vague tips into non-negotiable operational protocols. From remote communication and threat assessment to mental discipline and survival skills, you will learn to build a system that empowers you to hit the trails with authority and absolute confidence.
This article provides a structured approach to building your competence. Each section details a critical protocol, designed to create a comprehensive safety system that prepares you for the realities of the trail.
Summary: A Tactical Guide to Confidence and Safety on the Trail
- Why A Satellite Communicator Is Non-Negotiable For Solo Treks?
- How To Leave A ‘Trip Plan’ That Actually Helps Rescuers Find You
- Pepper Spray Vs Bear Bells: Which Deterrent Actually Works On Predators?
- The ‘Blair Witch’ Syndrome: How To Stop Your Imagination From Scaring You At Night
- When To Turn Back: Identifying Cloud Formations That Signal A Storm
- Why Does Standing Like Wonder Woman Actually Change Your Blood Chemistry?
- What To Say: Handling Security Guards And Police If You Get Caught
- Bushcraft Basics: How To Build A Fire In Wet Conditions Without Lighter Fluid?
Why A Satellite Communicator Is Non-Negotiable For Solo Treks?
In the world of solo hiking, your phone is a convenience, not a lifeline. Once you lose cell service, it becomes little more than a camera. This is where a satellite communicator, such as a Garmin inReach or a Zoleo, transitions from a “nice-to-have” gadget to a non-negotiable piece of core equipment. It is the foundation of your remote safety system, providing a direct link to help regardless of your location. This isn’t about planning for failure; it’s about establishing a professional standard for self-reliance.
The power of these devices lies in their redundancy. They offer two-way messaging to reassure family, one-way tracking so they can follow your progress, and most critically, an SOS button that connects you directly to a global emergency response coordination center. The reliability is astounding; for example, some models offer up to 28 days of battery life in 10-minute tracking mode, ensuring your connection to the outside world remains intact for the duration of your trip. This capability fundamentally changes the risk equation of hiking alone.
However, owning the device is only the first step. The key to its effectiveness is having a clear communication protocol. It’s not enough to just carry it; you must know precisely how and when to use its different functions. This transforms a piece of gear into an active safety system.
- Level 1 – Proactive Check-ins: Send “All is well” messages at predetermined times or locations (e.g., every day at 7 PM, or upon reaching a summit). This prevents unnecessary worry and establishes a pattern of communication.
- Level 2 – Situation Updates: Use the two-way messaging for non-emergency updates. A message like, “Running 2 hours late due to weather, but all is well,” can prevent a premature and unnecessary rescue call from worried family.
- Level 3 – Emergency SOS: The SOS button is for life-threatening situations only. This includes serious injury, immobilizing illness, or an immediate threat you cannot escape. Activating it triggers a professional rescue operation.
Treating your satellite communicator with this level of operational seriousness ensures it serves its purpose: to be your unwavering link to safety when all other systems fail.
How To Leave A ‘Trip Plan’ That Actually Helps Rescuers Find You
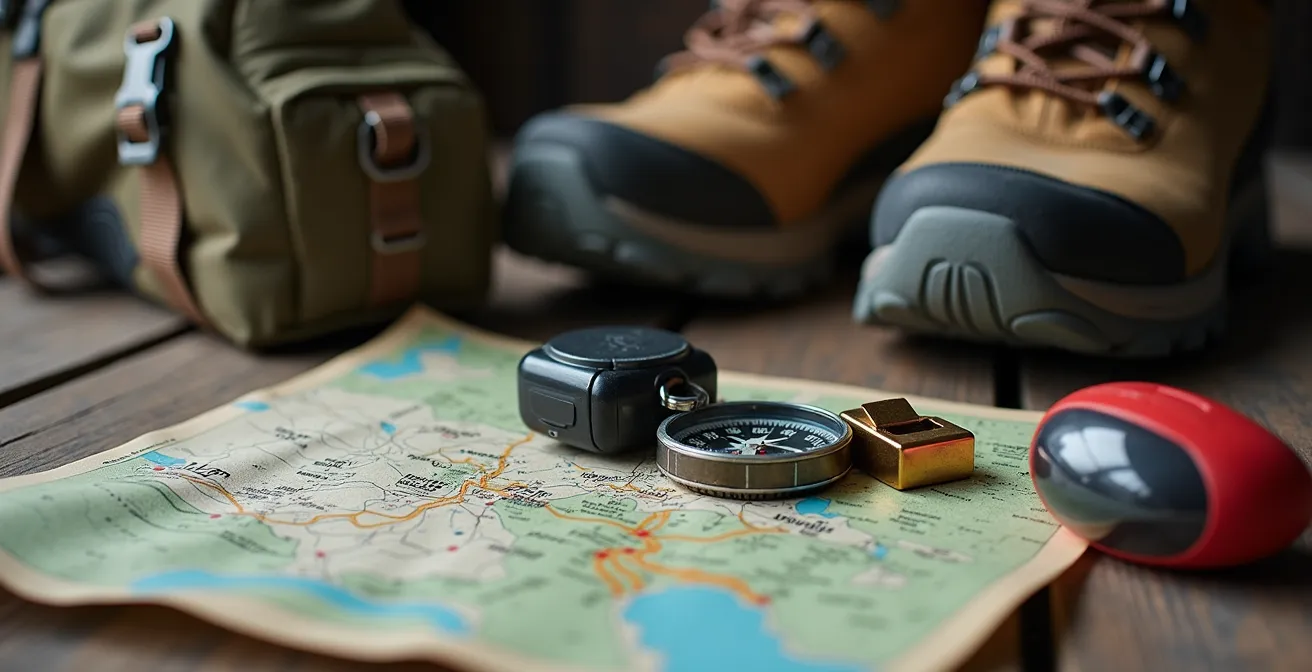
“Telling someone where you’re going” is the most common piece of hiking advice, and also the most frequently botched. A vague text message saying, “I’m hiking the mountains today!” is virtually useless in an emergency. A truly effective trip plan is a detailed document, a quasi-legal affidavit of your intentions that provides search and rescue (SAR) teams with the precise data they need to find you quickly. It is the analog backup to your digital satellite communicator, creating a crucial redundancy in your safety system.
Your plan should be a comprehensive dossier. It must include your name, age, and a recent photo. Detail your vehicle’s make, model, color, and license plate number. Most importantly, it must contain your exact planned route, including trailhead name, trail names or numbers, intended campsites, and key waypoints. Specify your estimated start and end times, and critically, define a “panic time”—the exact time and date when your contact should initiate a call to authorities if you have not checked in. This removes ambiguity and empowers your contact to act decisively.
This meticulous level of detail is what separates a casual note from a professional trip plan. As an example of building further redundancy, experienced solo hikers often create multiple points of contact. One hiker in Pennsylvania makes it a practice to inform state park rangers of her solo status and expected return time. This formal check-in with an on-site authority complements the informal trip plan she leaves with her family. In a rescue scenario, SAR teams would have two independent sources confirming her intended route and timeline, drastically narrowing the search area.
Leave this document with at least two trusted, responsible contacts. Do not post it on social media. A proper trip plan is your single most powerful tool for ensuring a swift rescue if technology fails and you fall silent.
Pepper Spray Vs Bear Bells: Which Deterrent Actually Works On Predators?
The debate over deterrents often devolves into personal preference, but when it comes to your safety, data and expert consensus must override anecdote. The question isn’t just about animal predators, but human ones as well. Your threat assessment protocol must be grounded in reality. The evidence is clear: bear bells are, at best, a placebo. Many experts argue they are ineffective, as their gentle, continuous sound doesn’t register as a threat and can even arouse a bear’s curiosity.
In contrast, bear spray (a high-concentration capsaicinoid spray) is a proven, non-lethal deterrent for aggressive bears. For two-legged threats, a high-quality pepper gel is the superior tool. It’s more accurate in windy conditions and less likely to cause cross-contamination to the user. Tactical competence means knowing your tool’s limitations; modern formulations can be effective at a distance, with some pepper gels having a maximum range of up to 18 feet for pepper gel. You must practice deploying it (using an inert training canister) to understand its trajectory and your own reaction under pressure.
However, the most effective tool against predators—particularly defensive bears—is often prevention, not reaction. As one expert from the She Dreams Of Alpine Safety Guide notes, proactive awareness is key.
The best tool we have as women is our voice. Most attacks we see on solo hikers are defensive attacks because the bear wasn’t aware of their presence
– Bear Safety Expert, She Dreams Of Alpine Safety Guide
This insight is critical. It shifts the strategy from a purely reactive defense to a proactive presence. Using your voice—yelling “Hey bear!” periodically, especially in areas with low visibility or near loud water—is the most effective way to prevent a surprise encounter. It alerts animals to your presence long before you are close enough to be perceived as a threat. This doesn’t replace carrying bear spray; it complements it as part of a layered defense system.
The final protocol is this: be vocally present on the trail, and carry the appropriate, proven spray for your environment. Know how to use it, carry it accessibly (not in your pack), and understand that it is a tool of last resort in a system where prevention is the primary goal.
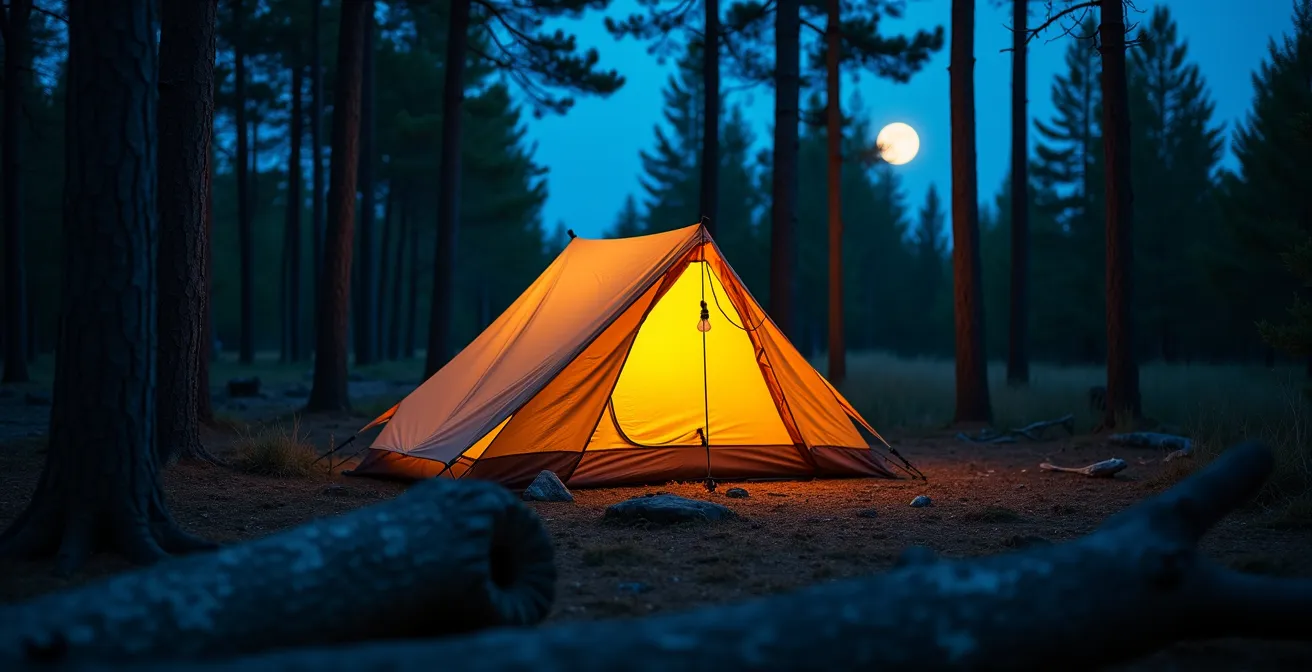
The ‘Blair Witch’ Syndrome: How To Stop Your Imagination From Scaring You At Night
One of the greatest threats on a solo trip doesn’t carry claws or a weapon—it lives inside your head. At night, alone in your tent, every snap of a twig or rustle of leaves can be magnified by your imagination into a looming threat. This “Blair Witch Syndrome” can turn a peaceful night under the stars into a terrifying ordeal, ruining your trip and eroding your confidence. Managing this internal threat requires as much rigor and discipline as managing any external one. This is not about “not being scared”; it’s about having a protocol for processing fear.
The root of this fear is ambiguity. Your brain is a pattern-matching machine, and when it receives incomplete sensory data (a strange sound, a fleeting shadow), it defaults to a worst-case scenario. The key to breaking this cycle is cognitive discipline. You must actively intercept the fear response with logical reasoning and grounding techniques. This is a skill, and like any skill, it can be learned and practiced.
Rather than letting your mind spiral, you must deploy a structured mental toolkit. Cognitive Behavioral Therapy (CBT) offers highly effective techniques for exactly this kind of situation. They are designed to short-circuit the feedback loop between an anxious thought and a physical fear response. By implementing a clear, step-by-step process, you can regain control of your emotional state.
Your Action Plan: A Cognitive Protocol for Night Fears
- Acknowledge and Name: Instead of fighting the fear, acknowledge it without judgment. Say to yourself, “I hear a strange noise, and I am feeling scared.” This separates the stimulus from your reaction.
- Apply Logical Reasoning: Actively challenge the fear. Remind yourself that an overwhelming majority of night sounds are caused by small animals, wind, or settling branches. The statistical probability of a real threat is minuscule.
- Use Grounding Techniques: Pull your focus from the external world to your immediate, physical self. Inside your sleeping bag, consciously name five things you can feel: the texture of the fabric, the pressure of your body on the mat, the warmth of your breath.
- Create a Calming Ritual: Have a pre-planned comfort activity. This could be listening to a specific downloaded song, a familiar podcast episode, or reading a few pages of a book on your phone. This creates a predictable, safe mental space.
- Control Sensory Input: Limit the ambiguous data that fuels your imagination. A good pair of earplugs is one of the most effective pieces of gear for combating night fears, as it eliminates the very sounds that trigger the anxiety spiral.
Mastering your own mind is the ultimate form of self-reliance. It ensures that the only thing you have to fear on the trail is a genuine, identifiable threat—not the ghosts you create yourself.
When To Turn Back: Identifying Cloud Formations That Signal A Storm
Of all the objective dangers in the wilderness, weather is the most indiscriminate. A sudden storm, especially at high altitudes, can bring lightning, flash floods, and hypothermia-inducing conditions with shocking speed. The decision to turn back is one of the hardest but most critical judgments a solo hiker can make. It requires shelving your ego and your summit fever in favor of a cold, hard assessment of the sky. Your ability to read clouds is not a quaint, old-fashioned skill; it is a core tactical competence.
You must learn to recognize the specific cloud formations that act as warning signals. These are not subtle hints; they are billboards announcing imminent and dangerous weather. The primary culprit to watch for is the Cumulonimbus. These are the classic “thunderheads,” towering, anvil-shaped clouds that can build with alarming speed on a hot afternoon. If you see one building, your window for a safe descent is closing rapidly. They are factories for lightning, hail, and violent winds.
Other formations serve as crucial indicators:
- Lenticular Clouds: These smooth, lens-shaped clouds often form over mountain peaks. While beautiful, they are a clear sign of very high winds at altitude and significant atmospheric turbulence.
- Mammatus Clouds: These pouch-like formations hanging from the base of a larger storm cloud (often a cumulonimbus) signal an extremely unstable air mass and the potential for severe weather, including tornadoes in some regions.
- A Rapidly Lowering Cloud Ceiling: If you notice the base of the clouds is getting progressively lower and the visibility is decreasing, you risk being enveloped in a disorienting fog. This is especially dangerous above the treeline where there are no landmarks for navigation.
The rule is simple and absolute: if the weather is turning, you turn back. The mountain will be there another day. Being able to justify pushing onward is a sign of inexperience; knowing precisely when to retreat is a mark of a seasoned expert. Check the forecast before you go, but trust the real-time data your eyes are giving you over any pre-trip report.
Your summit goal is always secondary to your primary mission: returning safely. Recognizing these cloud patterns and acting decisively is a non-negotiable part of that mission.
Why Does Standing Like Wonder Woman Actually Change Your Blood Chemistry?
Confidence on the trail is not a personality trait you’re born with; it’s a physiological state you can cultivate. The concept of “power posing,” famously associated with standing like Wonder Woman, has been a topic of debate, but its core principle is sound: your body’s posture influences your mind’s state. For a solo hiker, consciously adopting a posture of confidence can be a powerful tool to manage fear and project an aura of capability—an effect that is as much for you as it is for anyone you might encounter.
The original research suggested that holding “high-power” poses (open, expansive postures) could increase testosterone (the “dominance” hormone) and decrease cortisol (the “stress” hormone). While the hormonal claims have been contested, the psychological effect remains robust. Adopting an upright, open posture makes you *feel* more confident and powerful. This “fake it ’til you make it” approach is a form of embodied cognition; you are using your body to send a clear signal to your own brain. This isn’t about arrogance; it’s a practical psychological tool for self-regulation.
This confidence isn’t built in a single moment. As one experienced solo hiker with over 500 miles under her belt emphasizes, it’s a gradual process. She advocates starting with familiar trails in local parks, practicing these techniques in a low-stakes environment, and progressively tackling more remote adventures as your comfort and competence expand. Confidence is a muscle, built through preparation and repeated, successful experiences. The physical act of power posing becomes a ritual to access that earned confidence.
To make this practical, you can integrate a sequence of confidence-building rituals into your hike:
- At the Trailhead: Before you take your first step, stand in a power pose for 60 seconds. Feet apart, hands on hips, chest open. Visualize yourself completing the hike successfully and safely.
- Spoken Affirmation: Say it aloud: “I am strong, I am capable, and I belong on this trail.” The act of speaking gives the thought more power.
- Mountain Pose for Challenges: Before a difficult scramble or a steep ascent, ground yourself in a “Mountain Pose”—feet hip-width apart, spine straight, arms at your sides. Feel your connection to the earth.
- Horizon Gaze at Viewpoints: When you feel overwhelmed, find a viewpoint and practice the “Horizon Gaze.” Look as far as you can, broadening your perspective both literally and metaphorically.
By consciously using your body to project strength, you are not just posturing; you are engaging in a powerful biofeedback loop that reinforces your right to be on that trail, alone and unafraid.
What To Say: Handling Security Guards And Police If You Get Caught
While hiking, most encounters are with fellow nature lovers. However, you might find yourself in an unplanned interaction with an authority figure—a park ranger, a property owner, or even law enforcement. This could happen if you accidentally stray off-trail into a restricted area, misinterpret a sign, or are still on the trail after official park closing times. The title’s phrase “get caught” sounds illicit, but in reality, these are often honest mistakes. How you handle this interaction is a critical test of your composure and a key safety skill.
Your primary goal in these situations is de-escalation and compliance. The tone should be one of respect, cooperation, and calm. This is not the time for defensiveness or argument. You want to immediately signal that you are not a threat and that you are willing to rectify the situation. A clear, calm communication script can prevent a simple misunderstanding from escalating into a serious problem.
This contrasts sharply with advice for handling unwanted advances from other individuals on the trail. In her solo hiking guide, Val from Voyages with Val advises being firm when your intuition flags someone as a threat. She notes, “Be rude!… if someone is giving you an ‘off’ feeling… don’t be afraid to say no.” This is about setting hard boundaries for personal safety. When dealing with an official authority figure, however, the strategy shifts from boundary-setting to de-escalation. The Explorer Chick journal provides an excellent communication script for these official encounters:
- Opening: Start with a polite, non-confrontational opening. “I apologize if I’ve made a mistake. Can you help me understand the issue?”
- Clarification: State your understanding of the situation calmly. “I checked the park website and understood this trail was open until dusk. Did I misread the information?”
- Cooperation: Explicitly state your willingness to comply. “I’m happy to comply. What would you like me to do now? Should I head back to my car immediately?”
- Documentation: If the situation feels serious or you are being issued a fine, it is reasonable to ask for information. “For my records, may I please have your name and badge number?”
- Resolution: End the interaction on a positive and respectful note. “Thank you for the clarification. I’ll be sure to follow the correct procedure next time.”
Your ability to remain calm, respectful, and cooperative under pressure is your best tool for resolving these situations smoothly and safely.
Key Takeaways
- True safety is a system of active protocols, not a passive checklist of gear.
- Managing internal, psychological threats (like fear and imagination) is as critical as preparing for external, physical dangers.
- Your ultimate goal is tactical competence: the proven ability to handle any situation the trail presents, which is the true source of confidence.
Bushcraft Basics: How To Build A Fire In Wet Conditions Without Lighter Fluid?
In a survival situation, the ability to make fire is paramount. It provides warmth to stave off hypothermia, a means to purify water, a way to cook food, and a significant psychological boost. Relying on a disposable lighter or matches is a rookie mistake; they fail easily in wet conditions. True preparedness means having the knowledge to create fire with what’s available, even when everything is damp. This is the ultimate expression of tactical competence—the ability to create a life-sustaining tool from the environment itself.
The secret to fire in the wet is understanding that even in a downpour, dry wood exists. You just have to know where to find it and how to process it. The interior of dead, standing wood (not logs on the wet ground) will be dry. Using a knife, you can “baton” through larger pieces to access this dry core. From there, the key is to create a massive amount of surface area with your tinder. This is where the “feather stick” comes in—thin curls of wood shaved from a dry stick that will ignite with a spark.
Your fire-starting kit should have redundant ignition sources (a ferro rod, a stormproof lighter) but your real ace in the hole is knowledge. Experienced hikers know that many common pack items can serve as potent fire accelerants in an emergency. As noted in trail reports, alcohol-based hand sanitizer, petroleum-based lip balm, and even oily snacks like corn chips can be used to help a small flame grow when tinder is damp. This knowledge transforms your everyday gear into a survival kit.
Building the fire itself requires a specific structure to maximize airflow and heat:
- Step 1: Find and Process Wood. Locate dead standing wood. Use a knife and a sturdy branch (baton) to split logs and access the dry interior.
- Step 2: Create Tinder. Use your knife to shave the dry interior wood into fine curls, creating feather sticks. Also gather any other dry, fibrous material like inner bark.
- Step 3: Assemble Tinder Bundle. Create a small nest of your driest, finest material. This is where you might add an accelerant like a cotton ball with lip balm or a few drops of hand sanitizer.
- Step 4: Build an Upside-Down Fire Lay. On a dry platform (like a piece of bark), place your largest fuel logs. Add progressively smaller layers of wood on top, finishing with your kindling and feather sticks.
- Step 5: Ignite. Place your tinder bundle on the very top of the structure and ignite it. The fire will burn downwards, slowly and efficiently drying out and igniting the larger fuel logs below.
By mastering this fundamental bushcraft skill, you are making a definitive statement: you are not just a visitor in the wilderness; you are a capable and resilient participant, able to provide for your own safety no matter what the conditions.